Instagram Pro Widget

- Use Instagram Pro Widget without authorization - no API connections
- Choose the way the widget will be displayed
- Set one of the four possible modes to show images
- Point out the way the post detail will be opened when clicked on
- Set the quality of displayed photos
- Choose one page, several, or all of them to display the widget on
- Indicate the place, where the posts will be shown
- Enter a title and a description of your widget
- Regulate the appearance of advertisement posts
- Configure the post information shown
- Enter the time of cached posts removal
Thanks so much to the developer of this awesome extension! Recommend it without any hesitation.
Best wishes from Carbon)
Recommend!
The main advantage of the module is in its multiple Instagram accounts and hashtags support.
10 from 10!;)
What you will get with Instagram Pro Widget for Magento 1
Main features
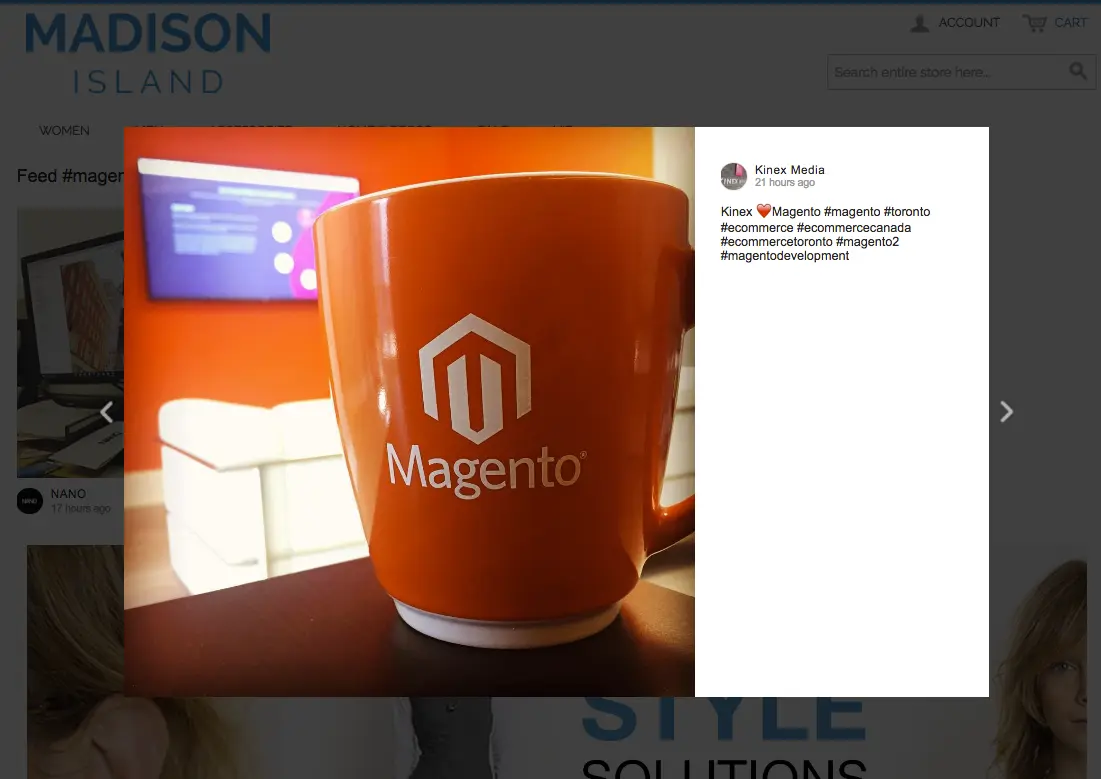
Instagram Pro Widget is a tool aimed to attract more customers to your online store and make your pages diverse. Show your clients upcoming products or your real-life cases. Show photos from presentations and various industry events. Show them whatever you like - just make photos and publish them in your store through Instagram Pro Widget. Or set a specific hashtag and display posts of other people. Decide on what you want to have on your pages and share it with your clients.
Display posts of any Instagram user with no need for API authorization
In instagram Pro Widget there is no necessity to connect your store to your Instagram account. Just set the name of the user, whose posts you want to show, or a hashtag. If you have set photos display by Product Hashtag or by Category Hashtag, then posts will appear only under the hashtags you have pointed out on the correspondent pages.
Customize your widget
Set one of the four possible ways of your published images selection
There are four options to choose from: display by a Username, by a Hashtag, by a Product Hashtag, and by a Category Hashtag. It lets you regulate which photos will be displayed on your pages. Select the one, which you find the most suitable one for your store. There is even no need to publish posts only from your account.
Decide on the appearance of the widget on your store
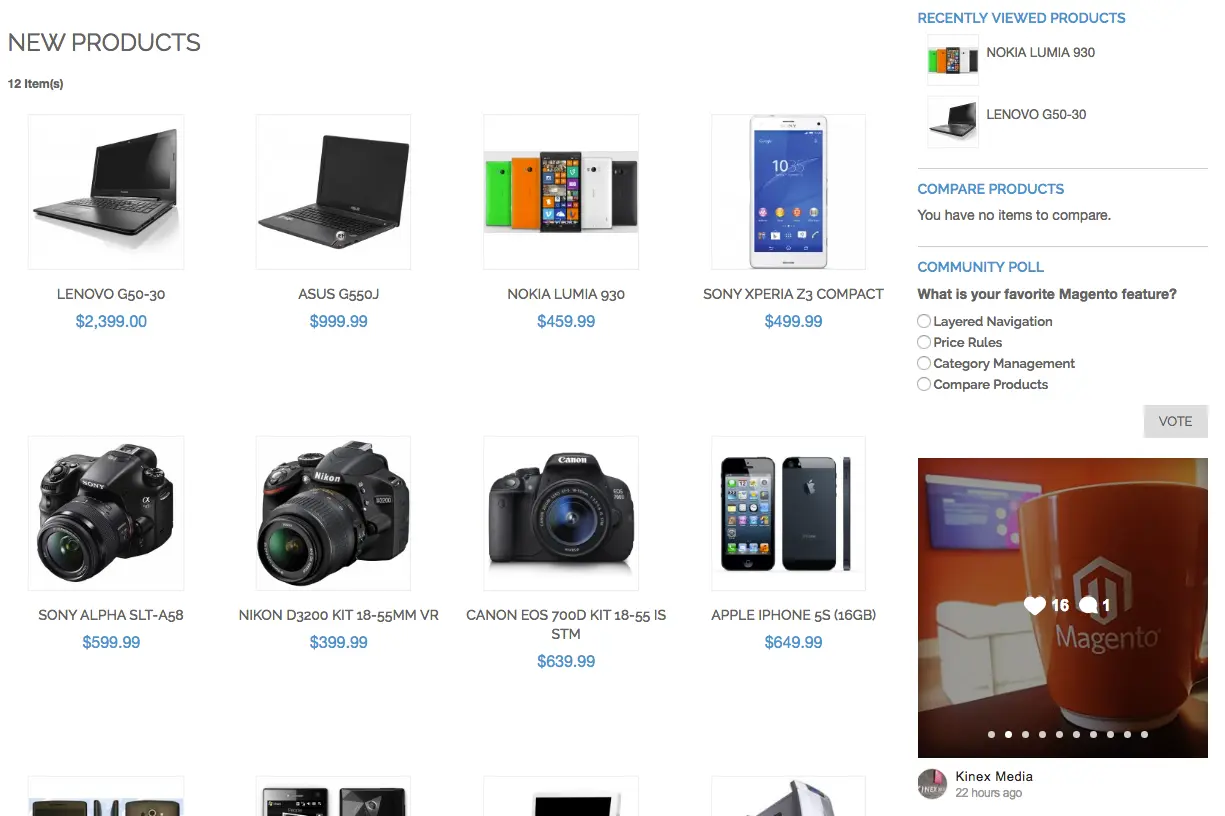
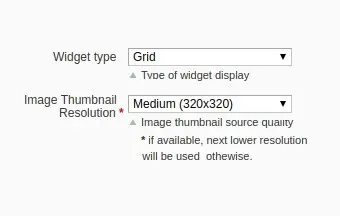
Think over what option is better for your design and implement it. Instagram Pro Widget supports both types of images display: a grid and a slider. Decide which model reflects the photos to be published better as every website and every design may require its own way of presentation.


Select the way your users will see the post details
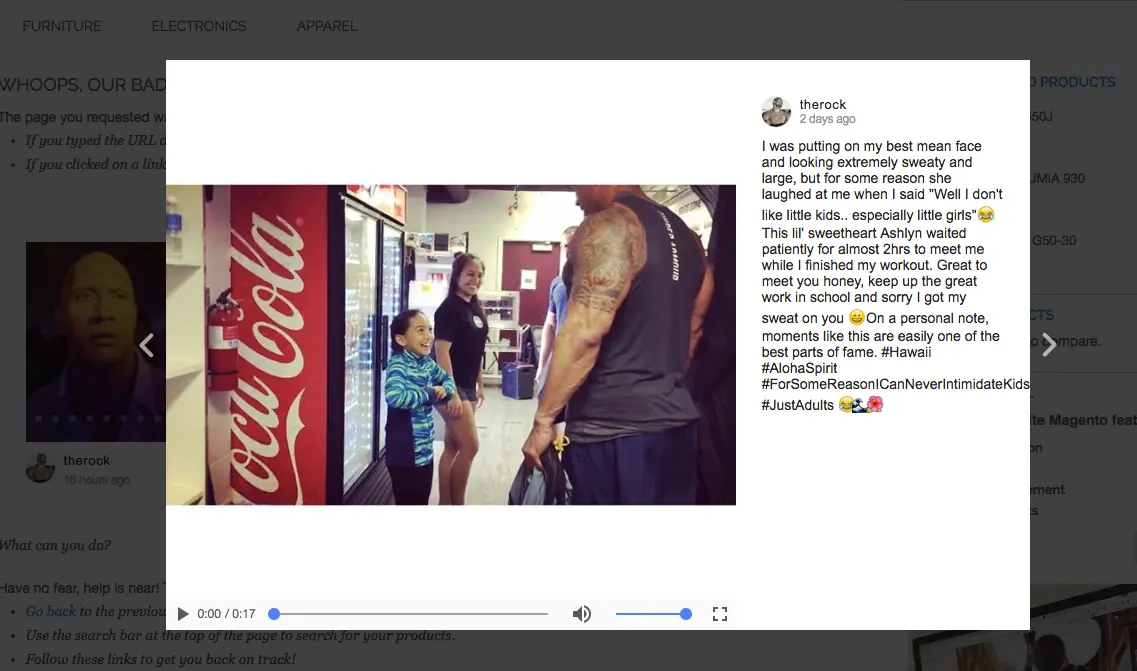
Set how your users will get the post details, when clicking on a thumbnail. Choose a Lightbox on your store or a Redirection to Instagram page of a correspondent account. Moreover, you can choose the option of not showing this information at all - Instagram Pro Widget supports this function as well.
Set the images preferences
Configure the quality of thumbnails in the widget
To make the widget better integrate to your design, set the resolution of existing thumbnails in your widget. Decide whether it is better to load faster or to show thumbnails of quality - for every store there is its own configurations.
Manage Layout Updates
Determine on what pages you want Instagram Pro Widget to be displayed
You can post your extension on any page you consider the best for it. Choose a number of them if you want or display the widget on all of them. Instagram Pro Widget supports multi-page function, so you can make this widget suit your store the best.
Use clear and simple extension settings
All the settings in Instagram Integration Widget have their function and cover all the most important details. No useless and bulky configurations. It helps store owners to adjust everything properly and not get confused with the number of options.
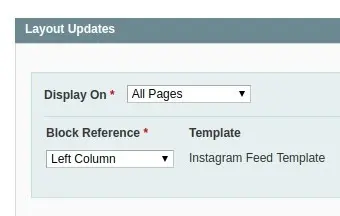
Choose the exact place where your widget will appear
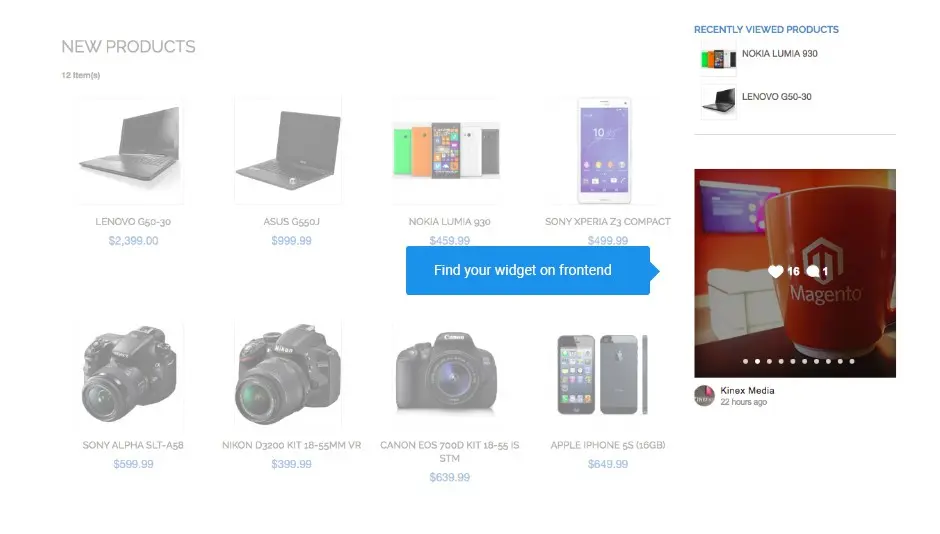
Easy and friendly settings of this extension let you attach the widget displayed on the frontend to any place of a page you want, like Footer, Header, or a Column. Thus, you can regulate the way the photos from Instagram are displayed, allowing for improving User Experience of your customers.
Make the widget different
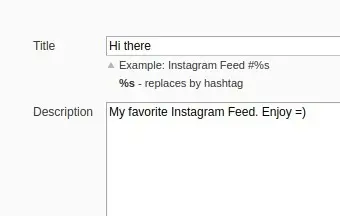
Add a title and a description of your widget
For your and your users’ convenience or just for better appearance, you can set a title and a description of the widget shown. With the title you can make it clear for your customers, what photos they will see here. The description has the same purpose, but it can provide more information.
Regulate the information shown
Show or hide advertisement posts
On the one hand, advertisement is a useful thing that brings more money. On the other - it may influence the User Experience in a negative way. Thus, you can regulate the presence of advertisement posts in your widget, displaying or hiding them.
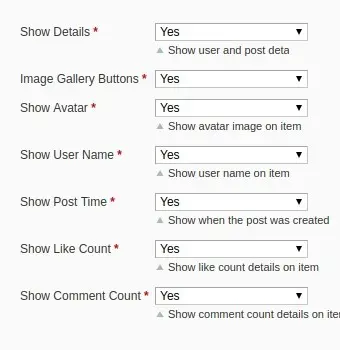
Point out the post information shown on your store
If you set the post information to be shown in a Lightbox, you can also specify this information. You can show your users the data of the photo creation, the number of likes, the author’s avatar, his of her username, etc. Besides, you can hide all this information - this option is also available in Instagram Pro Widget.
Automatic cache deleting
Set the time how long the cashed posts will remain on your server
In order to reduce load on your server, you can set cache lifetime f or this extension. It means for how long cached posts will remain. After the time expires, it will be deleted. A nice and easy option created especially for better work of your server.
Indicate general settings of Instagram Pro Widget
What is Instagram Pro Widget
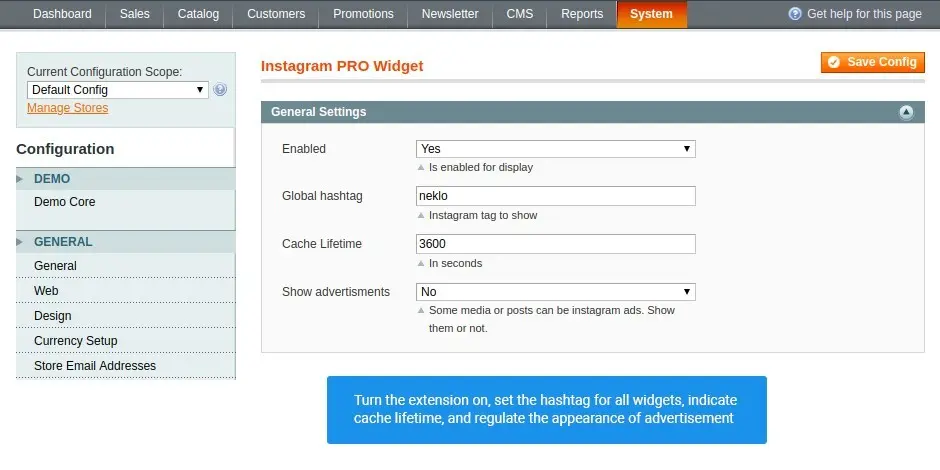
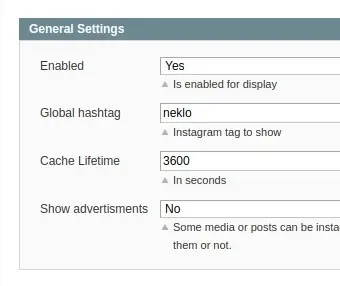
Instagram Pro Widget is the extension you can turn off without deleting it and manipulating with code. You can do it in the General Settings tab there: System > Configuration > NEKLO Tab > Instagram Pro Widget. Here you will find the option called “Enabled”. It is responsible for displaying and hiding your widget, so you can quickly and easily disable the extension when you need it.
Set the basic features
There is a number of other quite handy options you can set.
The next one is Global Hashtag. It is a non-obligatory option
that may display products under this very hashtag if you didn’t
set otherwise in the Mode option in the widget settings.
Another field here is Cache Lifetime. It allows to point out
the desired time to keep posts in cache in seconds. After the
time expires, the cached photos will be deleted from server. The
last option here is called “Show Advertisement”. Its purpose is
simple - it allows to show or hide advertisement in your widget.
Decide on whether you need it and set the correspondent status.
Choose where and how you want to display the widget
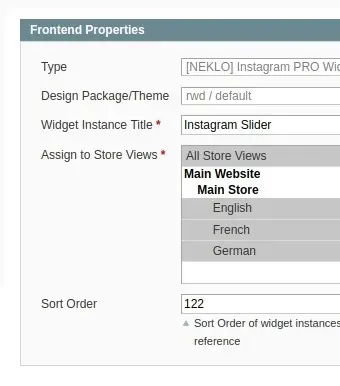
Adjust the widget appearance
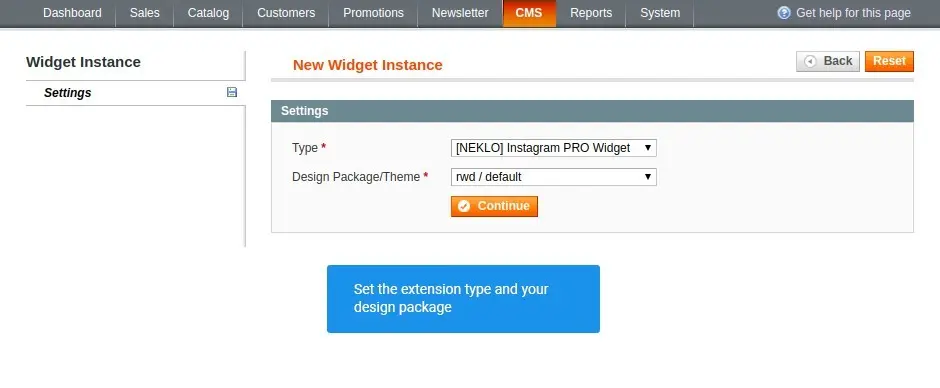
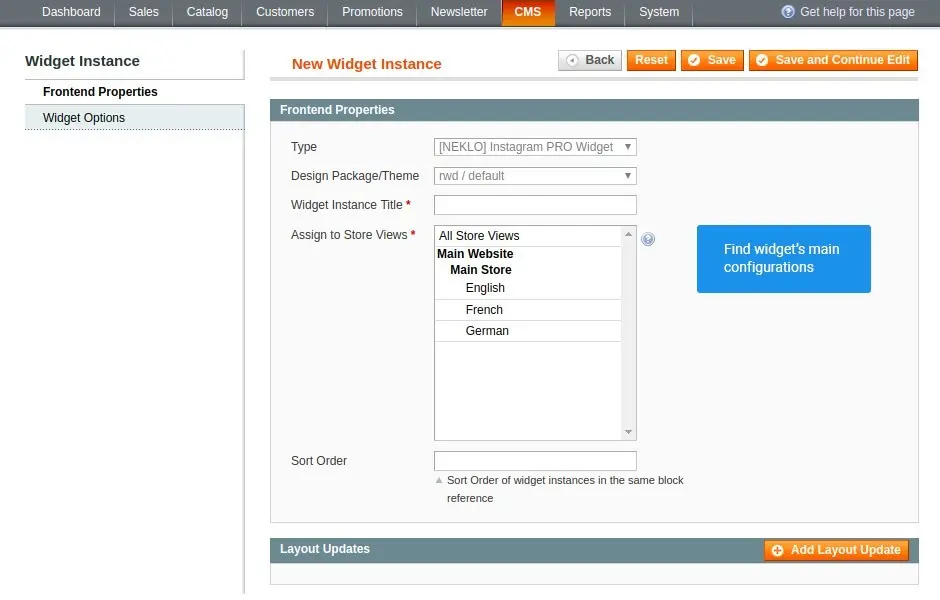
All websites are different and the feature that may look wonderful in one of them will not be appropriate for another one. For this purpose Instagram Pro Widget has flexible settings regarding its appearance on a page. Not only you can assign it to particular Store Views and set a Design Package. You can also specify the Sort Order that is responsible for numerical order of widget instances in one block reference.
Have your widget on various pages
The next options give you a possibility to adjust widget display on certain pages, like Bundle Products or CMS Home Page. You can even put it on all your pages. Then goes Block Reference. It is responsible for a specific place one a page, where the widget will be shown. The best way to improve your clients’ visual experience.
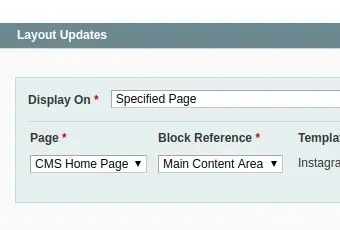
Point out which photos to publish
Four modes available
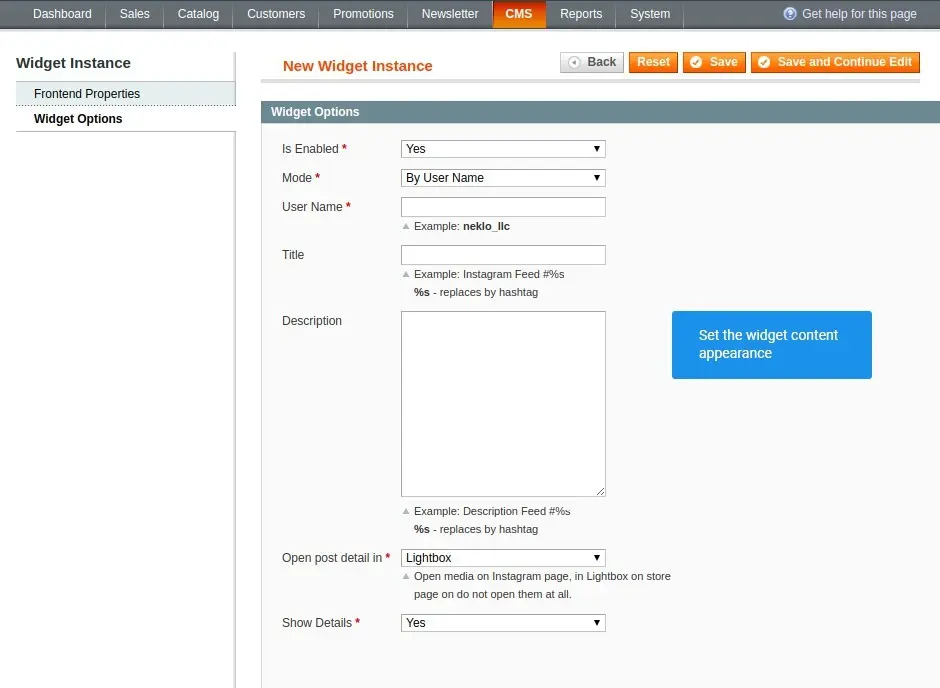
Choose one of the four modes to display posts: by User Name, by Hashtag, by Product Hashtag, by Category Hashtag. To set this option, follow CMS > Widgets > the Name of your widget. Or you can create a new one by clicking on the button “Add New Widget Instance” at the same place.
Choose Category and Product Hashtags
If you set “by Product Hashtag”, then you will see the photos selected by the hashtag you have set on the product page. The mode “by Category Hashtag” does completely the same. The only difference is that it deals with category pages instead of product pages.
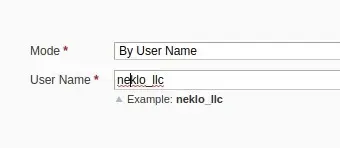
Select by User or by Hashtag
Each of these modes has its own features and lets you regulate the images shown in the widget. For example, if you set the mode “by User Name”, only the posts of the respective Instagram user will be shown. It may be you, your manager, or another person.
The “by Hashtag” mode allows to show all the images under this particular hashtag regardless of the person posted it. You can create your own hashtag and point it out. It may be used, for example, to show clients using your products. The number of ideas is limitless.
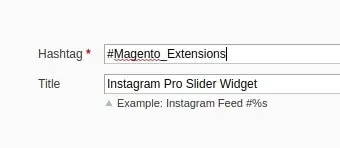
Set post information to show in the block
Settle the information to be displayed
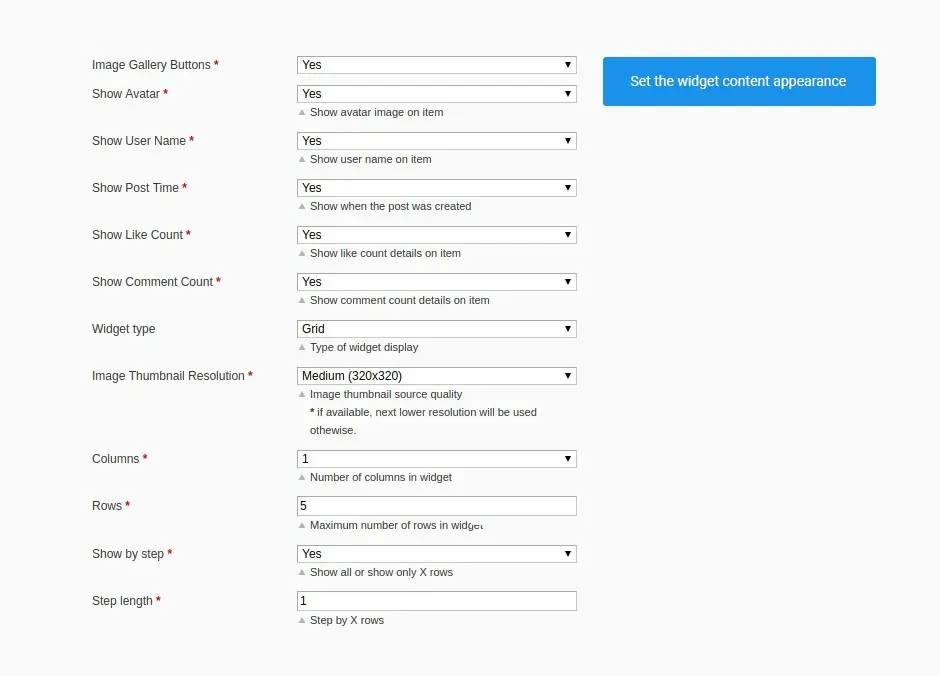
This extension gives you a possibility to regulate whether to show post details in a Lightbox, on a Instagram page, or do not show it at all. Moreover, if you have chosen to display the posts information, you can choose what to show exactly, for example, the author’s avatar and name, like count, post publication time, etc.
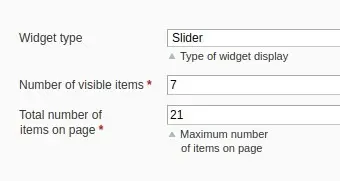
Decide on the appearance of the widget
Another option here is “Widget type”. Instagram Pro Widget supports two ways of displaying: a grid and a slider. Choose the one that suits your design the most and then set the desired thumbnails resolution a bit further. The last settings here are the number of Rows and Columns that help make the widget even more suitable or your website. You can also set “Show by step” if you want to regulate display by rows. Set the Step Length to finish the widget adjustment.
Installing Instagram Pro Widget
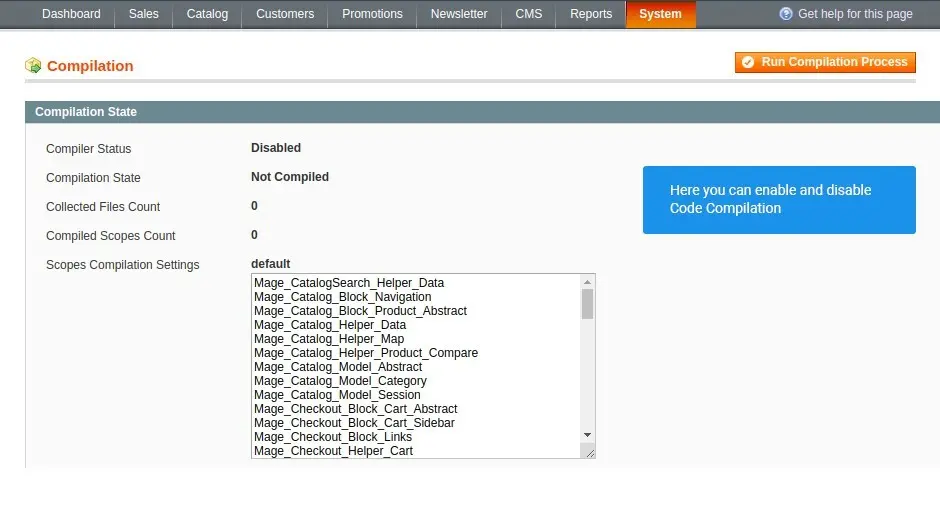
Take notice that you should have FTP/SSH access details
to set the extension. Also before installing Instagram Pro
Widget you should turn off code compilation. Otherwise your
store will be unavailable during the process of installation.
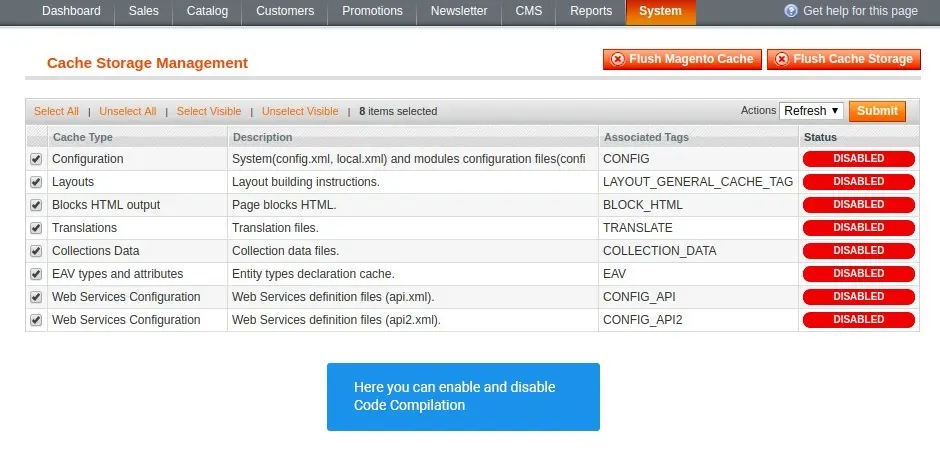
You can do it in System > Tools > Compilation. The button
“Disable” is responsible for this.
The installation begins with unpacking the zip folder
you have downloaded. Then extract all the files in it to
your Magento 1 installation root folder. After that you need
to clear cache. To do so, go to System > Cache Management.
Then you can turn the code compilation again. Go back to
System > Tools > Compilation and enable it again after successful
widget installation.
The last thing to do here is to reload ACL (Account Control
Level) rules. In order to do that, just log out from you Admin
Account and then log in again.
Frequently Asked Questions
2. Unpack the archive purchased from our Magento Store and copy the contents of the ‘extension’ folder to the root folder of your Magento installation.
3. Log out from Magento Admin panel if you are logged in and then log back.
4. Clear the cache. If Cache Control is enabled in Magento go to ‘System > Cache Management’ section, select ‘Refresh’ under ‘All Cache’ drop-down menu and press ‘Save Cache Settings’.
5. Go to ‘System > Configuration > NEKLO tab > Extensions & Contact’ section and check the list of extensions installed for the name of your purchased extension. If it is in the list the installation is complete.
In case your stores run on separate live Magento installations, you need to buy an extension for each of them.
And now, please, follow these steps:
1. Open app/etc/local.xml
2. Replace
<disable_local_modules>false</disable_local_modules> with
<disable_local_modules>true</disable_local_modules>
3. Log in to admin panel and disable the compilation.
4. Revert the changes in the local.xml
5. Clear the cache.
1. Edit … file (where XXX stands for the extension name/code).
2. Change "true" to "false".
3. Clear the cache.
At this point the extension is completely disabled and is not visible for Magento.
Now you can safely remove the extension files, although it is not necessary.
1. Edit app/etc/modules/Neklo_XXX.xml file (where XXX stands for the extension name/code).
2. Change "true" to "false".
3. Clear the cache.
As soon as you have done it the extension is disabled completely, meaning it no longer affects any Magento functionality.
1. Please open app/locale/en_US/ Neklo_XXX.csv, copy it to your locale folder, for example to app/locale/de_DE/ Neklo_XXX.csv and change the wording after the "," so the line will look like "Product review","Testbericht".
2. If there are the necessary language packs installed, you can use inline translation. To do that, please, go to admin/system/configuration/ developer, choose the storeview you want to translate and enable inline translation for it. Then go to the front end, select text and translate.
2. Download the extension (it will be always the latest extension version)
3. Unpack the downloaded folders
4. Disable the Compilation mode in Magento
5. Upload the overwriting existent files of our extensions to Magento root folder (please note that if you customized the files of our extension, the customizations will be overwritten)
6. Refresh site cache (if it\'s enabled)
7. Re-run the Compilation mode

